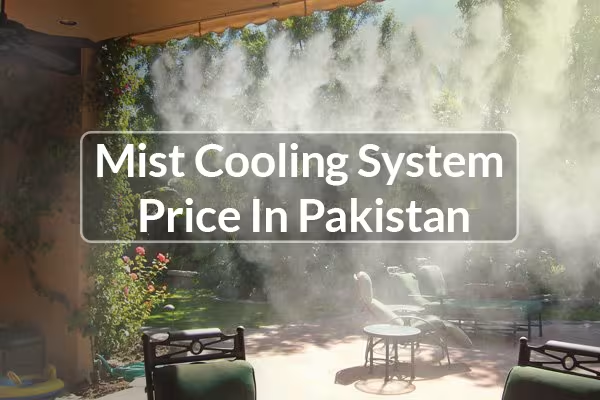
In Pakistan’s summer heat, outdoor spaces can become extremely uncomfortable. Whether you own a garden, patio, restaurant, or farm, high temperatures make outdoor comfort difficult. A mist cooling system is a practical and affordable solution that effectively reduces outdoor temperature, consumes low electricity, and is easy to maintain.
What Is a Mist Cooling System and How It Works
A mist cooling system is a high-pressure setup that sprays fine water droplets into the air. These droplets evaporate and absorb heat from the surrounding air, reducing the temperature by 10–15°C. Water is pushed through pipes into nozzles by a pump, creating an ultra-fine mist. Evaporative cooling is highly effective in Pakistan’s dry climate and instantly improves outdoor comfort.
Learn more about our Mist Cooling Solutions.
Applications and Benefits
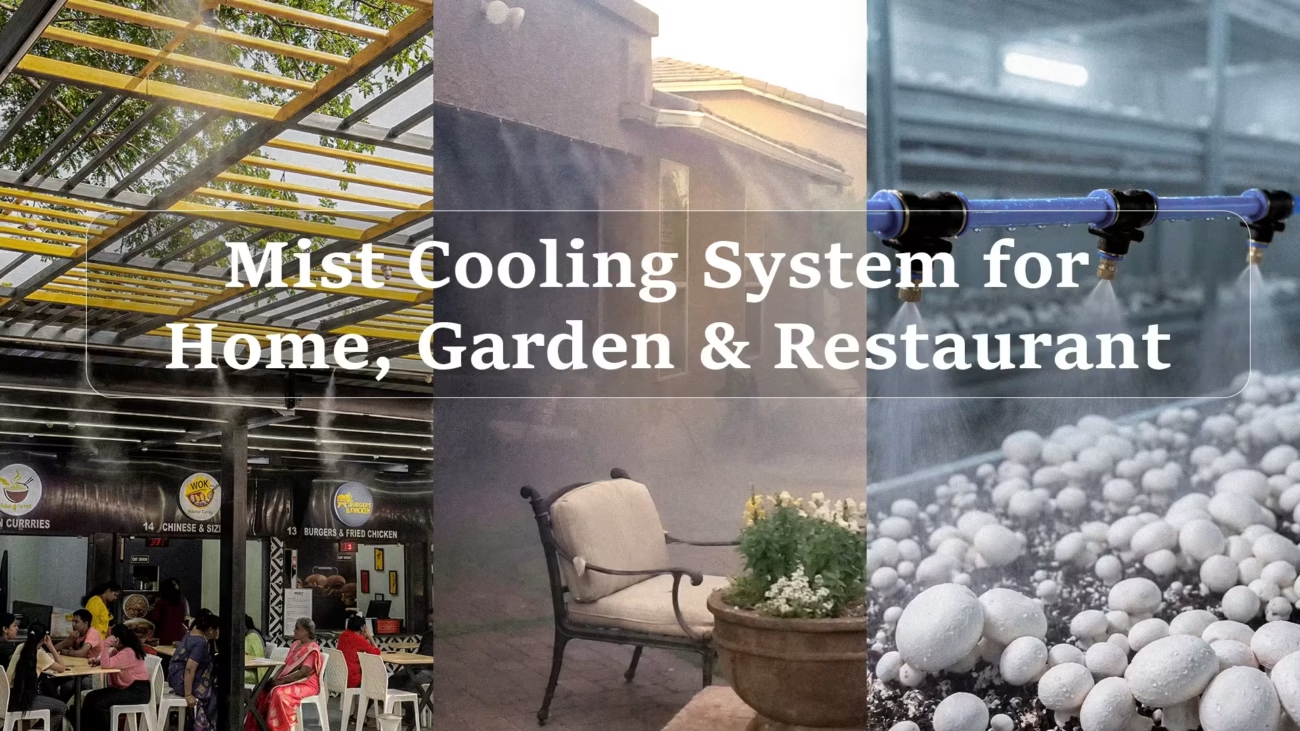
Mist systems are used in homes, restaurants, farms, and commercial spaces. In residential areas, they make gardens, patios, balconies, and rooftops comfortable. Restaurants install them in outdoor dining areas to improve customer experience and encourage longer stays. Farms, especially poultry and dairy, use mist systems to reduce heat stress and improve livestock productivity.
Benefits include energy efficiency, low electricity consumption, and improved air quality. They provide light humidity and moisture support for garden plants. Additionally, the fog-like mist effect enhances outdoor aesthetics and atmosphere, making spaces visually appealing.
Key Components and Installation
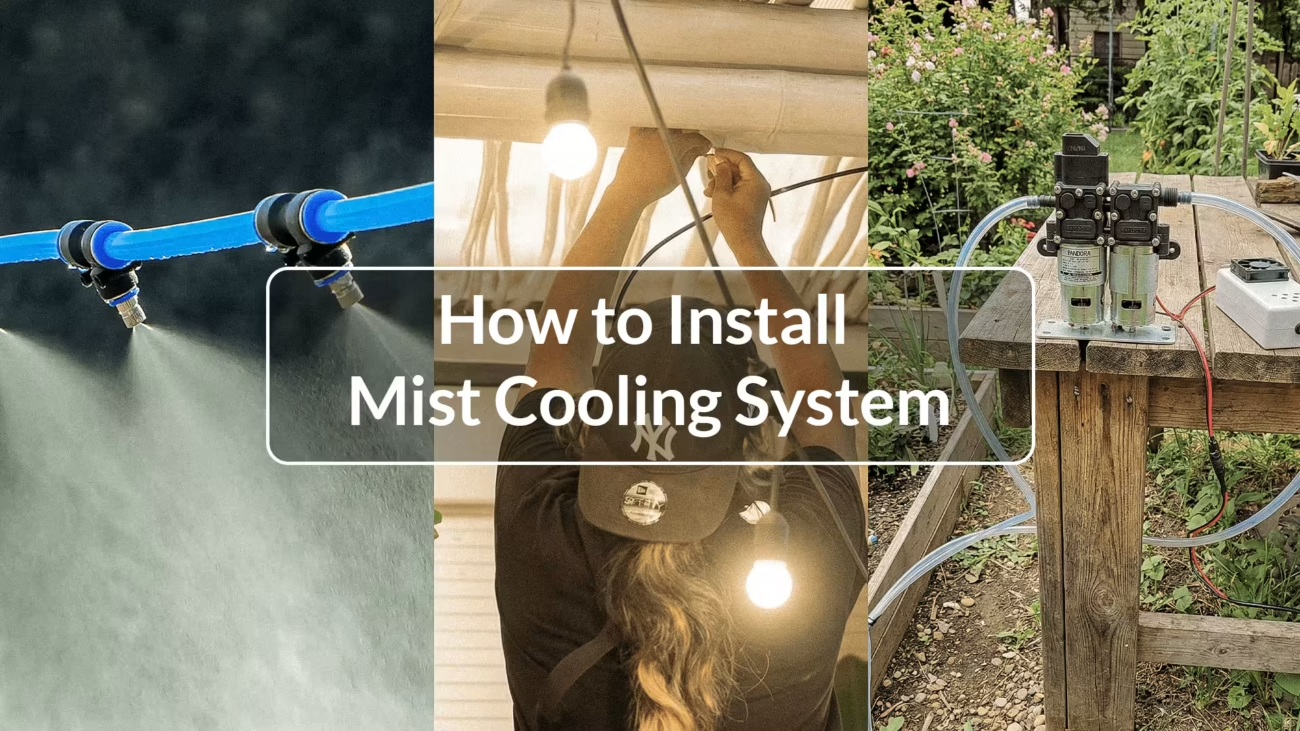
The main components of a mist system include the pump, nozzles, pipes, filters, Connector and other accessories. The pump creates high pressure, nozzles deliver fine mist, and filters prevent clogging. Pipe layout and installation ensure even mist distribution.
The installation process is simple: measure the space, plan the pipe layout, connect the pump and filters, install the nozzles, and test the system. Small residential setups can be installed with DIY kits, but large commercial systems require professional installation.
Price and Maintenance
Residential mist systems in Pakistan are available in the PKR 15,000–25,000 range. Medium home/business setups cost PKR 30,000–60,000, and large commercial/farm systems cost PKR 100,000+. Nozzles are priced PKR 50–200, and pumps range from PKR 8,000–50,000 depending on quality.
Check the latest and lowest prices in Pakistan on Evro.pk.
Maintenance is simple: clean nozzles monthly, replace or clean filters, and check pipe joints. With proper maintenance, the system remains long-lasting and efficient.
Mist System vs Air Conditioner and Choosing the Right Setup
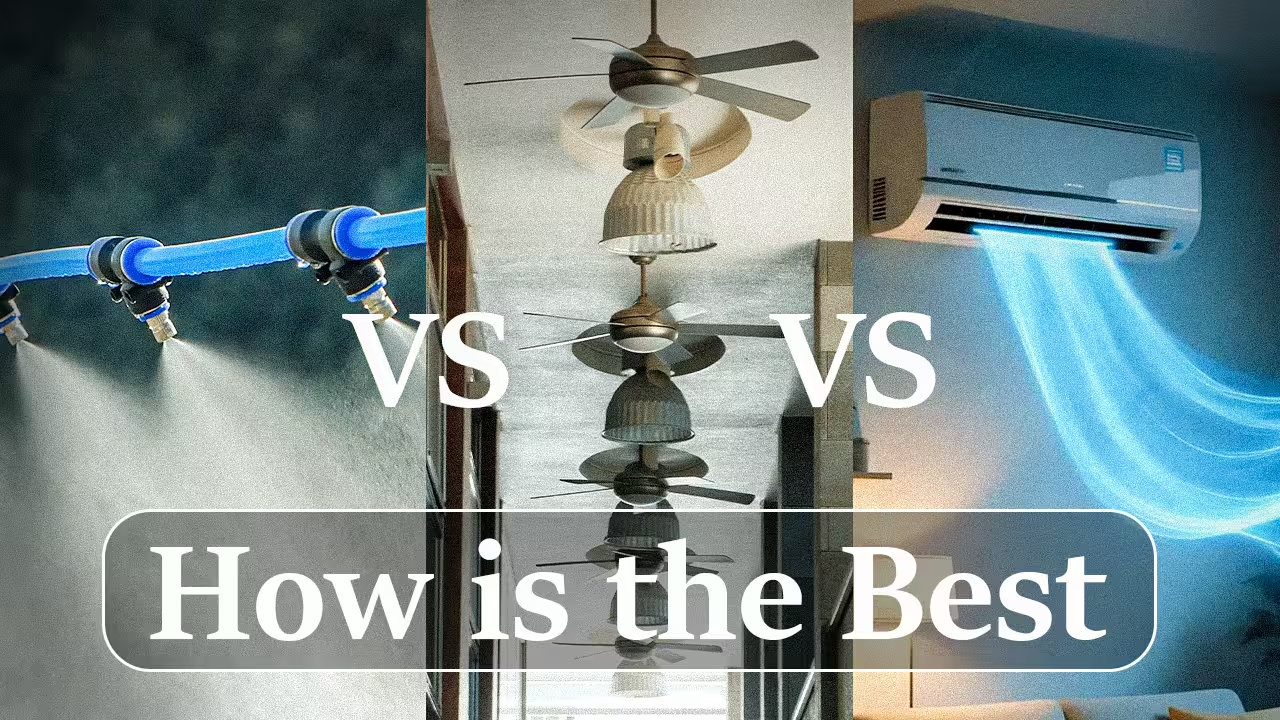
AC units are suitable for enclosed indoor spaces, but mist systems perform better outdoors. Mist systems consume very little electricity and provide open-air comfort. When selecting a mist system, consider space size, purpose, and component quality. Simple systems are sufficient for residential spaces, while commercial and farm setups require high-quality, durable systems.
Where to Buy in Pakistan
High-quality mist cooling systems in Pakistan are exclusively available from Evro.pk. Evro provides durable solutions for residential, commercial, and farm setups, with easy online ordering and nationwide delivery.
Final Thoughts
Mist cooling systems are the best solution for outdoor cooling in Pakistan. They reduce temperature, consume low electricity, and are easy to maintain. Investing in a mist system for your garden, patio, restaurant, or farm improves both outdoor comfort and aesthetics.
Purchasing from Evro.pk ensures a high-quality and reliable mist cooling solution. With proper setup and regular maintenance, the system will deliver long-lasting and efficient performance.